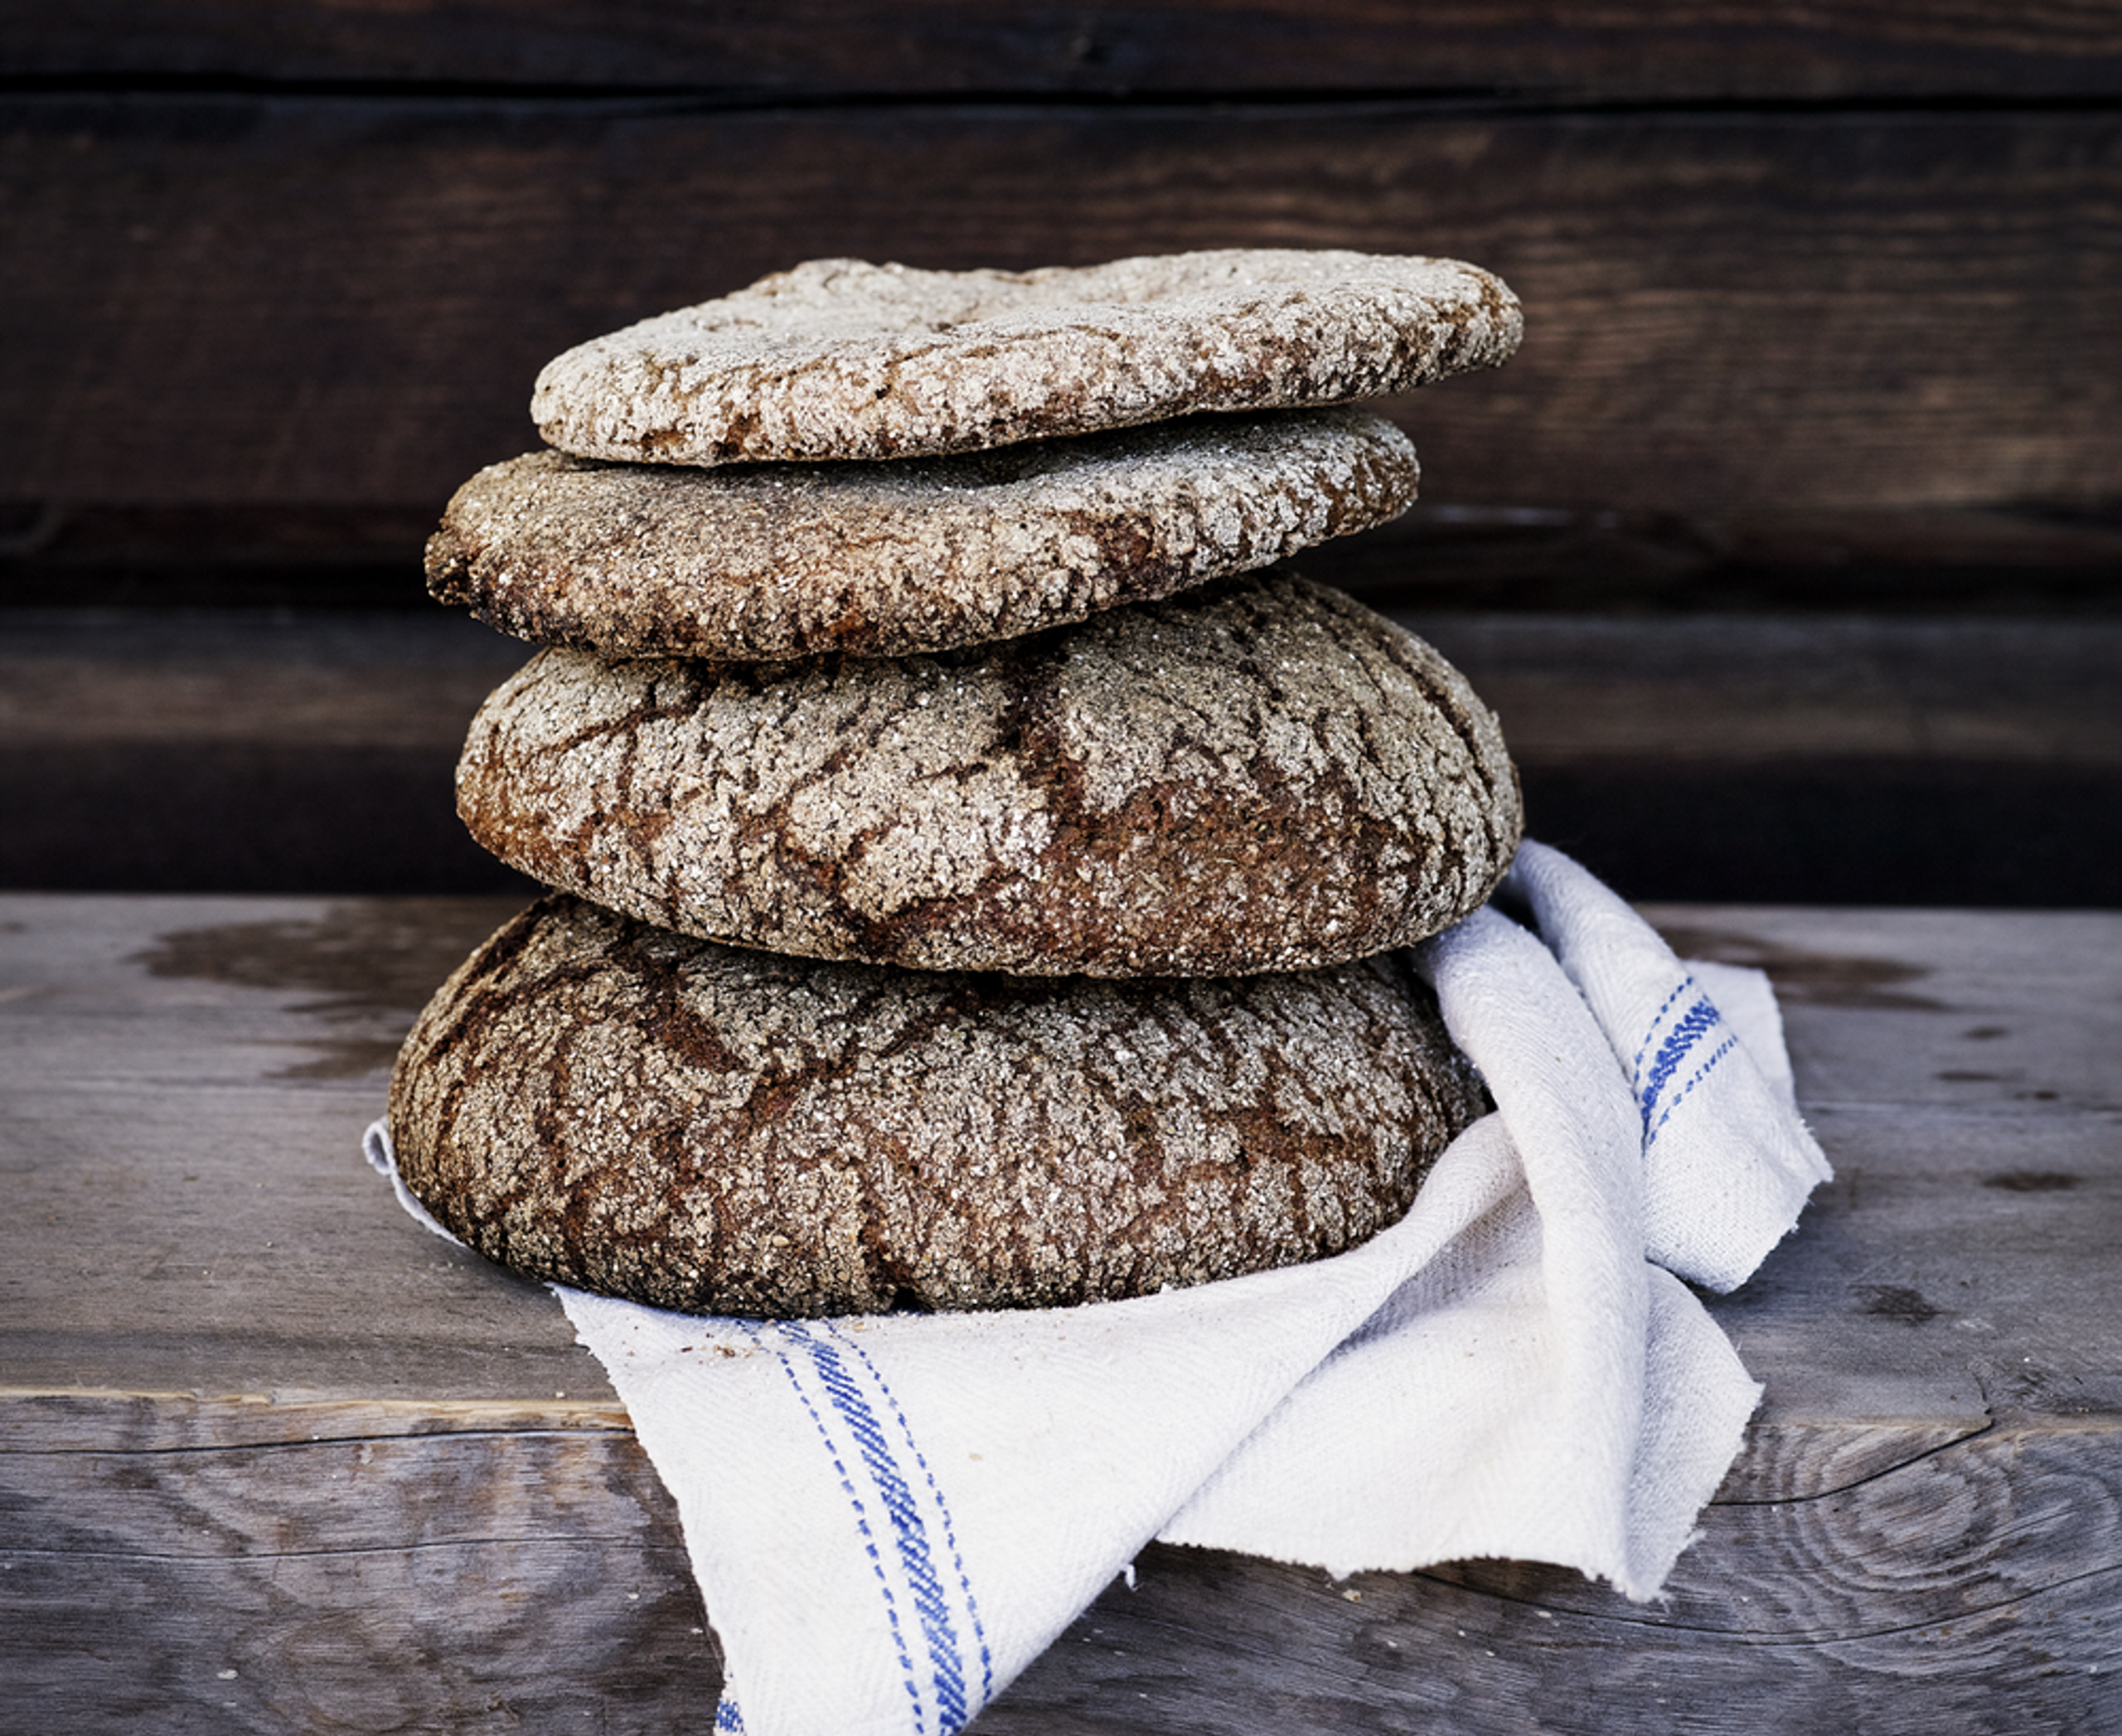
Baking rye bread takes patience, since it involves several steps over multiple days.
Recipe: Finnish sourdough rye bread
The recipe below is republished with permission from the Martha Association (known as Martat in Finnish). Founded way back in 1899, the nonprofit provides advice on food, nutrition, gardening, the environment, family finances and consumer issues. (Republisher: finland.fi)
Making the starter
In Finland you may be able to obtain starter dough from a bakery, friend, neighbour or shop. However, you can also make it yourself.
Day 1:
• 3 tablespoons rye flour
• 3 tablespoons lukewarm water
Mix the ingredients in a small glass jar, then put the jar in a warm place, such as on top of the refrigerator, for two days. Put the top on loosely, so that air can circulate
Day 3:
• 2 tablespoons rye flour
• 2 tablespoons lukewarm water
Add more flower and water and put the jar in the same place for one more day
Day 4:
Now you can use the starter to make bread. At first the starter will be only slightly sour, but the taste will strengthen when used to make bread. Starter dough will keep in the fridge for about two weeks, and for longer periods in the freezer.
Making sourdough rye bread
Now that you have the starter, you can make the actual rye bread. This recipe makes two loaves.
Phase 1:
• 2 dl lukewarm water
• about 1 dl of sourdough starter
• 2 dl rye flour
1. Mix the water, the starter and the flour into a smooth dough.
2. Cover loosely with clingfilm and put it in a warm place, such as near the stove or on top of the refrigerator. Leave it overnight or until it is bubbling properly.
3. When the sourdough begins to bubble and it is producing a mild sour aroma, it’s ready.
Phase 2:
• 6 dl lukewarm water
• 1/2 to 1 tablespoon salt
• (about 10 g yeast, optional)
• 1.6–1.8 litres rye flour (approximately 1 kg)
1. Add the salt (adjust the amount according to your own preferences) and the water to the dough and mix until the salt is dissolved. If you want to ensure that the dough will rise, dissolve a bit of yeast into the dough liquid. Many bakers consider it important that the dough rise naturally, without adding yeast.
2. Mix the flour into the dough bit by bit. The quality of the flour affects the amount you need.
3. Knead the dough vigorously, for at least ten minutes by hand or five minutes mechanically, until it is smooth and quite firm. Cover it with a cloth, put it in a warm place and let it rise until doubled in size, about three to six hours depending on the temperature. It’s important to let the dough rise properly.
4. Turn the dough out onto a well-floured baking table and leave some at the bottom of the bowl to form the starter for next time. Knead the dough vigorously several times.
5. Divide the dough and roll the pieces into round balls. Put them on a baking sheet and cover with a cloth. You can also use the dough to make quite a thin bread with a hole in the middle [editor’s note: this is another traditional form of the bread that you will often see]. Let the dough rise for two to three hours, depending on how warm the place is. When you press the dough lightly with your finger, it should rise back quickly. If you want to make the bread a bit flatter, you can press the loaves down. Poke holes in the surface of the loaves with a fork.
6. Bake the loaves at 225 degrees Celsius for about 20 minutes, then lower the temperature to 180 degrees Celsius and continue baking for about 40 minutes. If making flatter bread with a hole in the middle, bake at 225 degrees Celsius for 20 to 30 minutes. You can check whether the bread is ready by turning it over and knocking on the bottom of the loaf with your knuckles. If it makes a hollow thudding sound, it’s done. Let the loaves cool under a thick cloth.
Tip: If you’re using an electric oven, you can put water in a container such as a metal dish and place it on the bottom of the oven. This will help produce a nicer crust.